How To Add A Blogspot/Blogger Blog To Google Webmaster With Pictures
Lets learn the easy steps to add and also verify our blogs in Google Webmaster
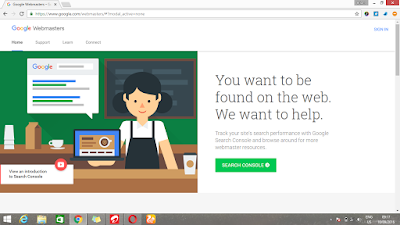
1. Go to Google Webmaster site or click here to redirect you.
2. Sign into your Google account (better if the same account with your blog)
3.Click on Add Properties and enter your site url.
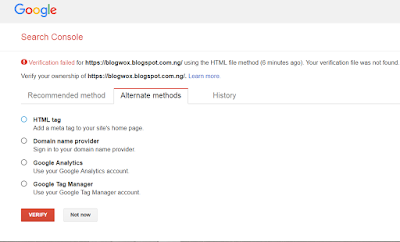
You might be asked to verify the ownership of the added url. you get to choose between the recommended method and the Alternate Method
We are going to work with the alternate method so click on it.The four different styles you could use in the verification are listed.
Lets make use of the first one, "HTML tag"
4. click on it, you will get script in this form <meta name="google-site-verification" content="xxxxxxxxxxxx_9xTEVxxxxxxxxxx"/> copy that and save to a note pad, It will be added to your site Template Later.
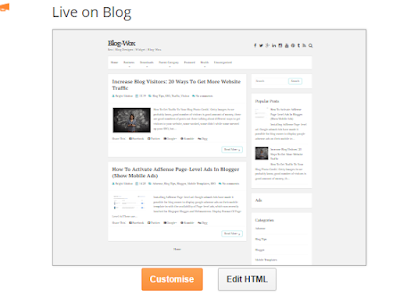
6. From the left menus, locate and hit template.
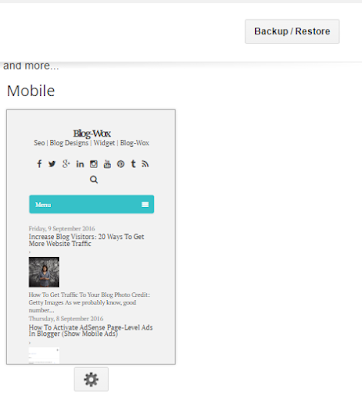
7. At the top right corner you should see a Backup/Restore button.
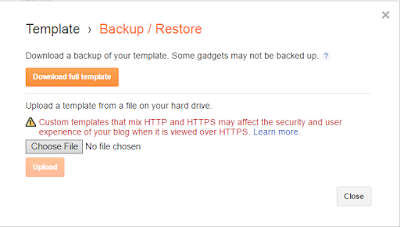
8. Click on Download full template button. save the file with the name you can remember easily just in case you get you site template messed up.
9. Hit the Edit HTML, this will show the blog template.
10. Search for <head> tag, which is usually at the 4th column of your template, if you don't find it, hit contrl+F keys or Cmd+F (in the case of Mac) keys in your keyword to pop out a search box, copy this tag <head> and paste in the box, it should take you directly to the its location with with yellow color all over it.
12. Click save template.
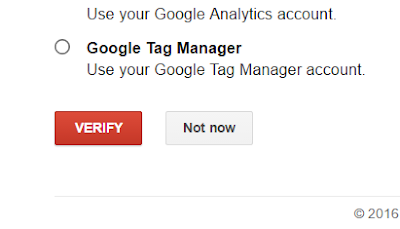
!3. Go back to your search console(webmaster) and click the verify button.
You will get a success page
Your blog has been added and verified to Google Webmaster.






EmoticonEmoticon